
Last updated October 16, 2026
 AC repair
 Furnace & heating
 Heat pumps
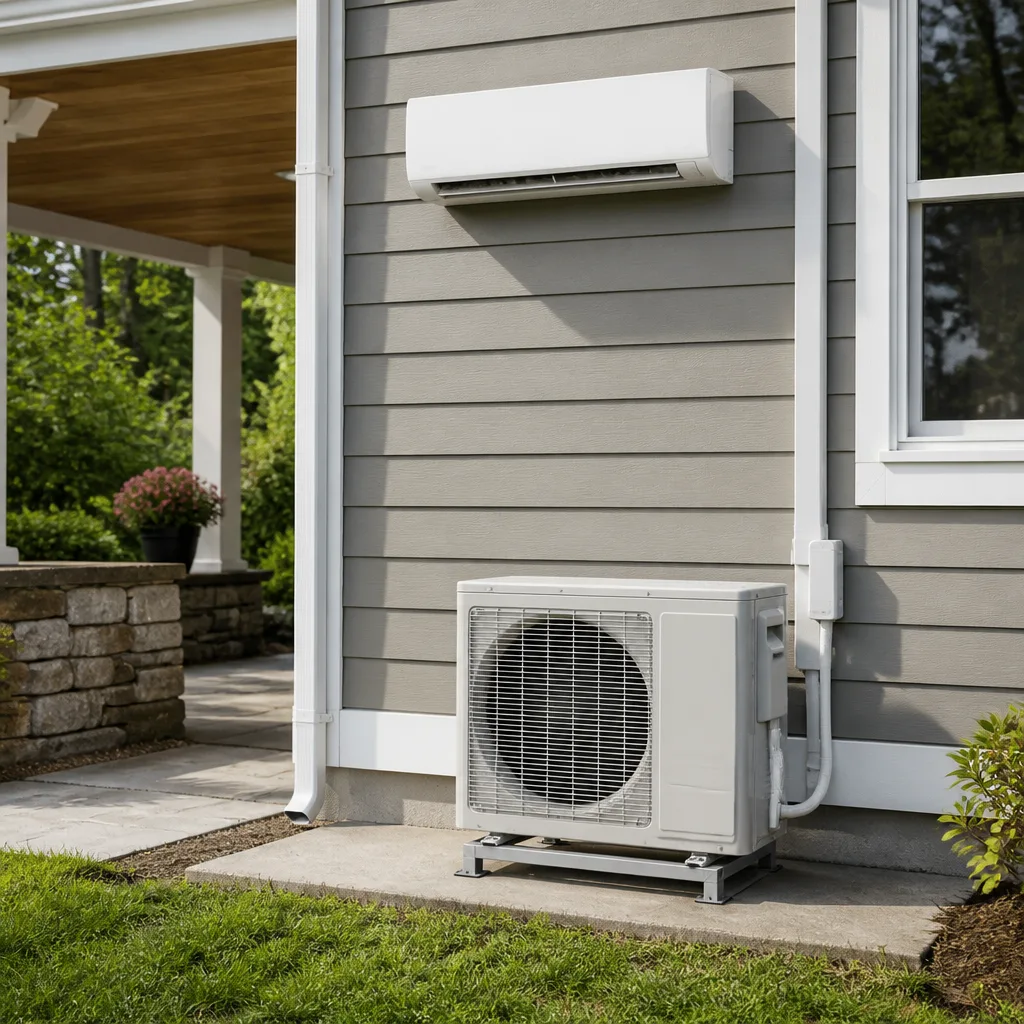 Ductless mini splits
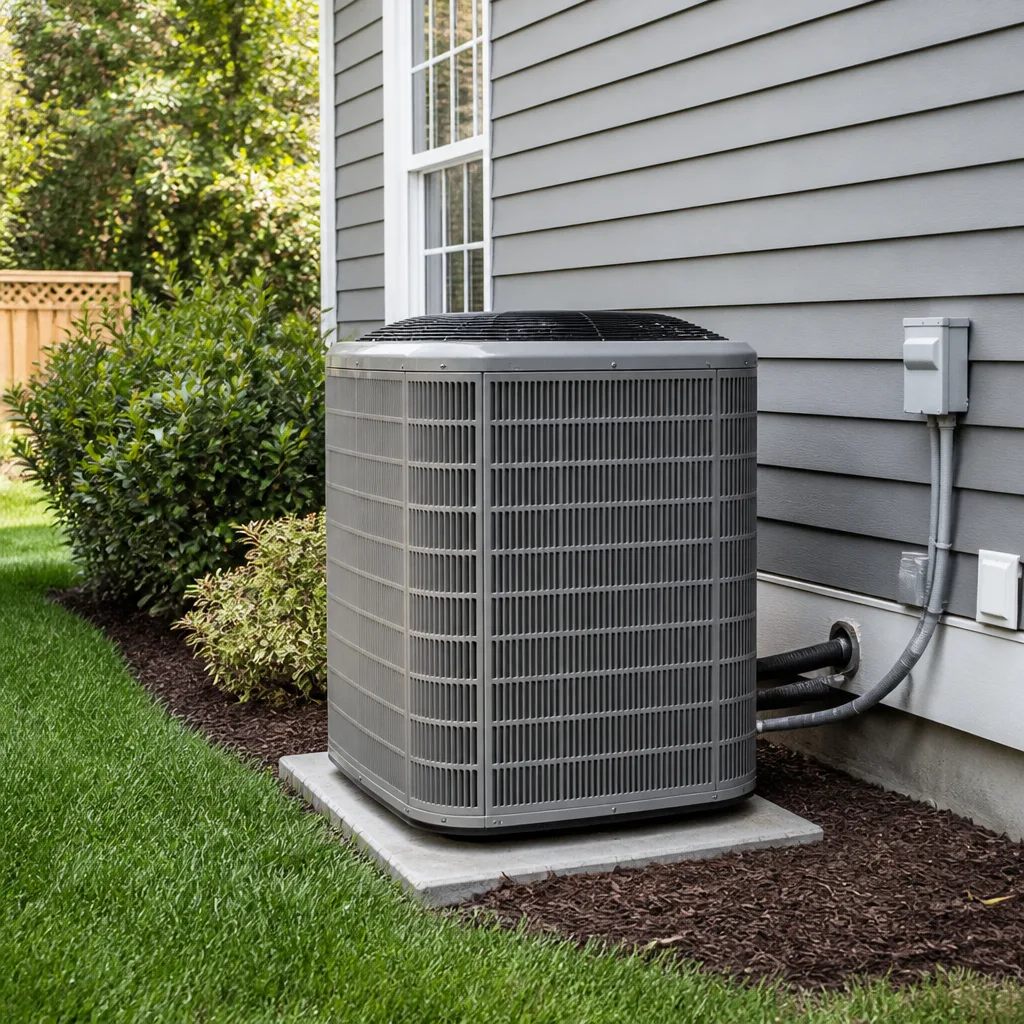 Carrier
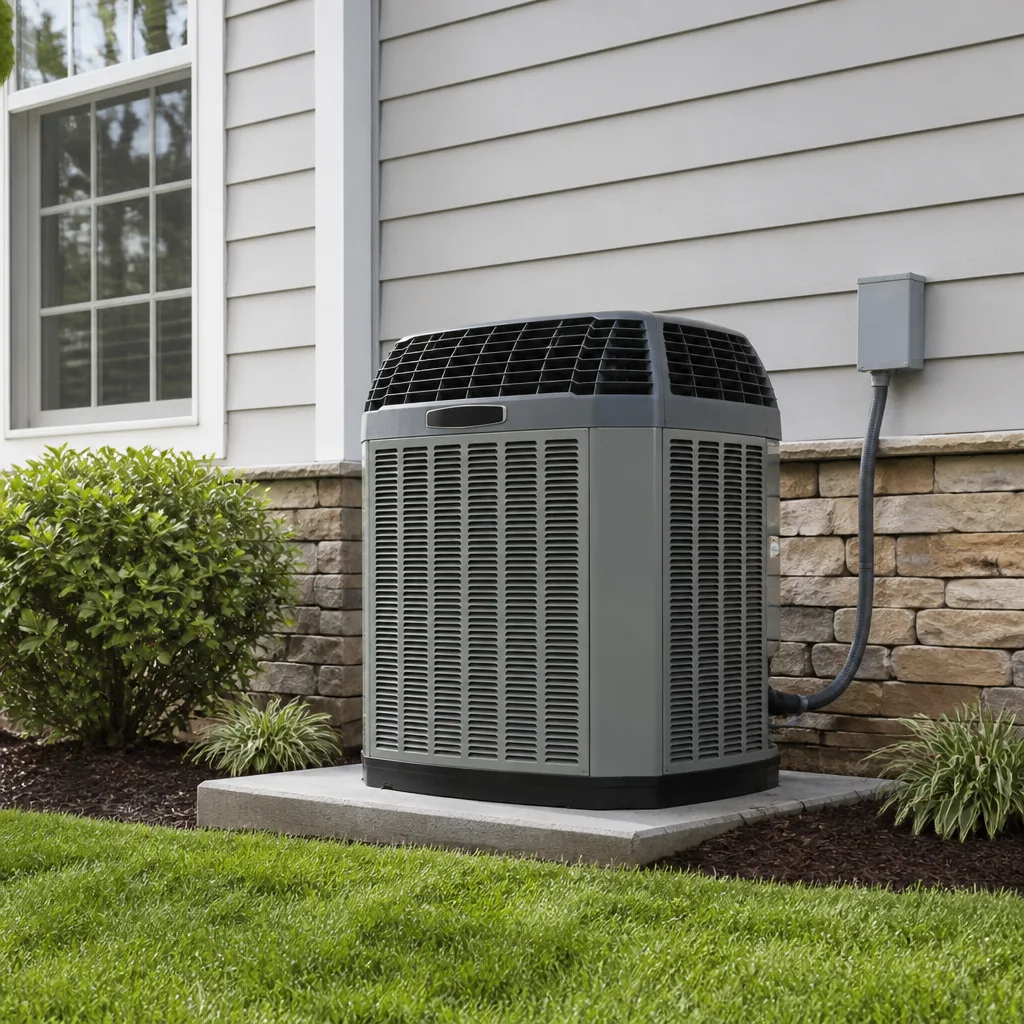 Trane
Trane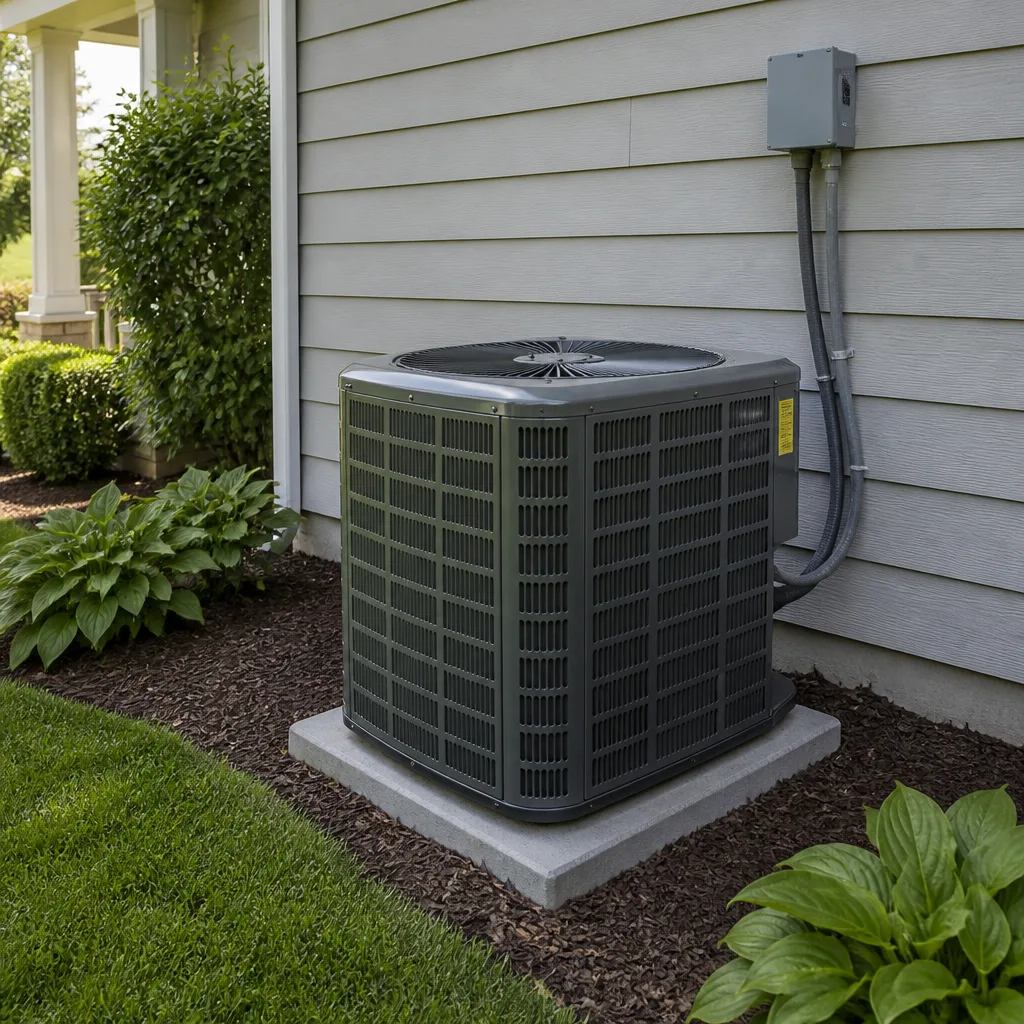 Goodman
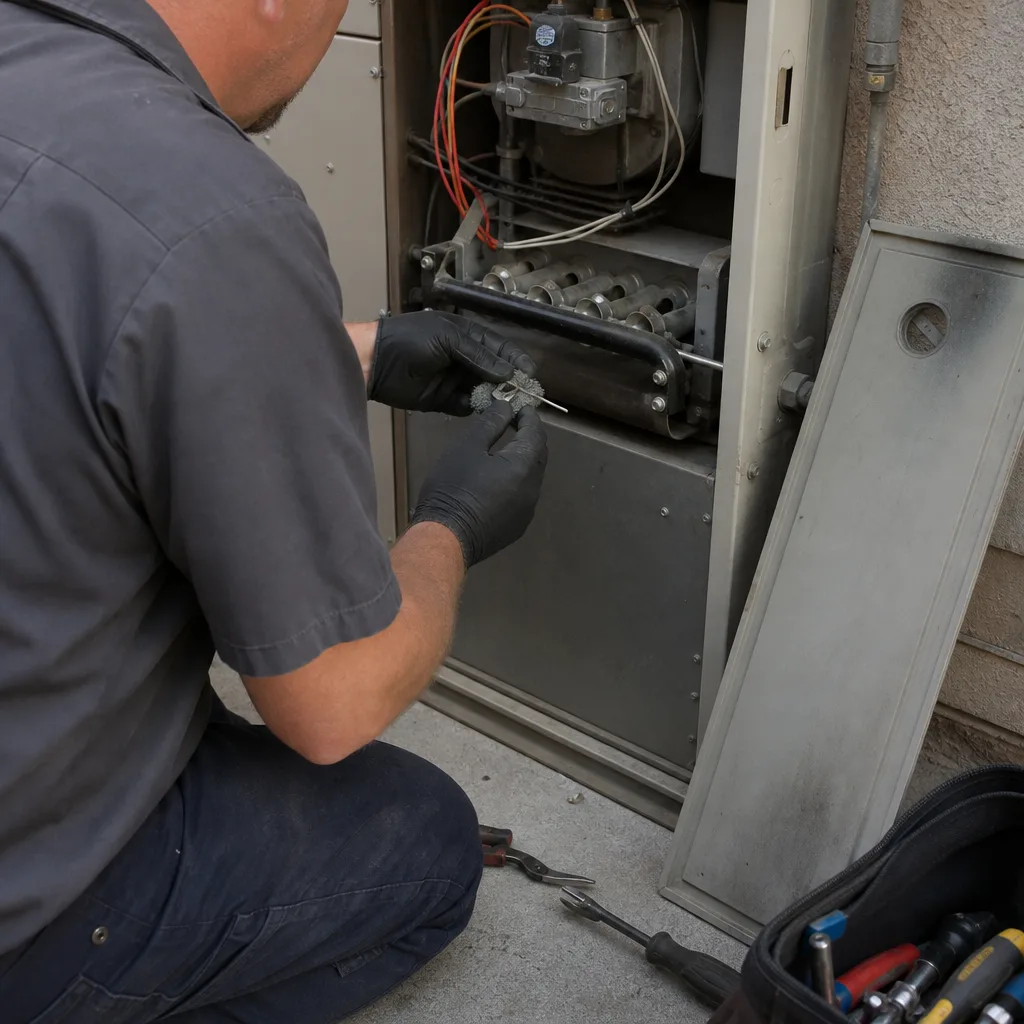
Seasonal tune-up and full diagnostic on your Carrier, Trane, or Goodman system - readings shown to you before any repair is proposed
Diagnosis first, numbers second - you approve the repair price before a single part goes in.
Get your free estimateAC Repair Maintenance Checklist for Las Vegas Homeowners
Here’s a fact most national AC checklists won’t tell you: the average air conditioner in Las Vegas works harder in one July than a Seattle unit works all year. Our summers run 110°F and higher, dust storms roll through the valley on a regular basis, and your condenser sits in direct sun on a concrete pad that can hit 150°F by mid-afternoon. A generic maintenance list written for a temperate climate has the right tasks in the wrong order, at the wrong frequency, aimed at the wrong threats. For a deeper look at how local conditions shape your system, see The Complete Guide to HVAC in Las Vegas. This guide is built around what actually kills AC units in Las Vegas, in the order those failures happen, so you know what to check, when to check it, and what each task actually prevents. By the end, you’ll have a month-by-month maintenance calendar, a filter strategy that works with valley dust instead of against it, and a clear line between what you can do yourself and what you should leave to a licensed tech.
Styles & brands we work with
Quick Answer
The AC maintenance checklist that actually works for Las Vegas homeowners includes five non-negotiable tasks: replace or clean your filter every 30 to 45 days using a MERV 8 to 11 rating, flush the condenser coil with water every 60 days from March through October, inspect refrigerant line insulation for UV damage each March and September, clear the area around the outdoor unit of debris and overgrowth monthly, and schedule one professional inspection each March before the heat arrives. Secondary tasks like checking the drain line, testing the thermostat, and sealing duct leaks happen monthly or annually depending on the season. Skip any of these in this climate and you’re not risking a minor efficiency drop, you’re risking a compressor failure that costs more than a decade of maintenance.
Table of Contents
- Why Generic Checklists Fail in Las Vegas
- The Month-by-Month Las Vegas Maintenance Calendar
- Filter Strategy: MERV Ratings, Dust Storms, and Why 90 Days Is Wrong Here
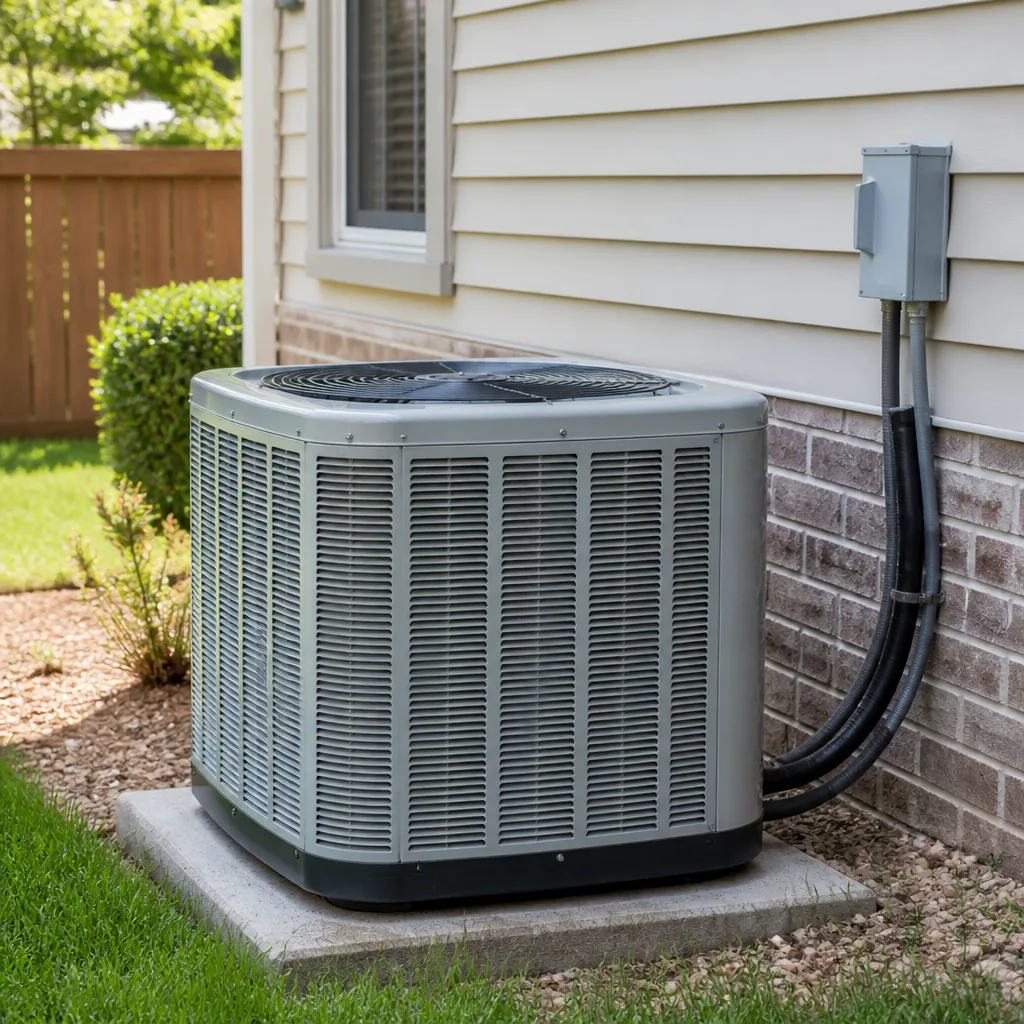
- Condenser Maintenance: The Outdoor Unit That Takes a Beating
- Refrigerant Line Insulation: The UV Damage Check Most Homeowners Never Do
- What You Can Do Yourself vs. What Voids Your Warranty
- Documenting Your Maintenance History: Why It Saves You Money
- Common Mistakes to Avoid
- When to Call a Professional
- Frequently Asked Questions
- The Bottom Line
Why Generic Checklists Fail in Las Vegas
Take any AC maintenance checklist from a national home improvement site and you’ll find the same advice: change your filter every 90 days, schedule a tune-up in spring, check the condensate drain in fall. That advice maps perfectly to a climate with four mild seasons, moderate humidity, and a few weeks of real heat. Las Vegas has none of those things. We have roughly six months of extreme heat, a monsoon season that flips from bone-dry to flash-flood humid in 48 hours, and airborne dust that’s fine enough to work its way through window screens and settle inside an air handler in a single afternoon.
What that means in practice: a filter that would last three months in Portland will be a clogged, airflow-starving brick here in three weeks during a dusty stretch. A condenser coil that never sees real dirt in a coastal city will be coated in a quarter-inch of valley dust and cottonwood debris by June. And the UV radiation at 2,000 feet of elevation plus 300-plus days of sun per year will turn the foam insulation on your refrigerant lines to brittle, crumbling powder faster than it would degrade in Seattle over a decade. Strip away the generalities and you’re left with a maintenance calendar that has to be rebuilt around our specific failure sequence: dust clogs the filter, restricted airflow overheats the blower motor, the blower fails, the evaporator coil freezes or the compressor overheats, and by August you’re staring at a $1,800 repair that $60 worth of filters would have prevented.
That’s not hypothetical. In our experience at Brandt HVAC Co Las Vegas home service calls, the overwhelming majority of mid-summer emergency repairs we see trace back to a preventable maintenance gap from spring. The unit didn’t fail on the 110°F day. It failed weeks earlier, silently, and the heat just made it obvious. Our goal with this checklist is to make sure you catch the early warning signs long before they become a no-cool call on a Saturday night in July.
The Month-by-Month Las Vegas Maintenance Calendar
Real maintenance in this climate is not a spring and fall event. It’s a rolling set of small tasks tied to what the weather is actually doing each month. Here’s the calendar we recommend to every Las Vegas homeowner, built around the valley’s specific seasonal shifts.
January: The Quiet Month
Your AC is mostly dormant, but this is the cheapest time of year to prepare. Run the system for 15 minutes and listen for anything unusual: rattling, buzzing, a motor that sounds like it’s struggling. Check the air filter and replace if it’s been longer than 45 days. Walk out to the condenser and confirm there’s no standing water, animal nesting, or deep debris accumulation from the previous summer’s windstorms. This is also the right time to book your March professional inspection: the calendar fills up fast as the valley warms, and you’ll have your pick of appointment slots with a AC Maintenance in Las Vegas visit scheduled before the rush.
February: Pre-Season Check
Temperatures start creeping up and your system will begin cycling more frequently by the end of the month. Change the filter. Pour a cup of white vinegar down the condensate drain line access point to break up any sludge that accumulated over the winter. Trim any vegetation that has encroached on the outdoor unit, leaving at least 24 inches of clearance on all sides. If you have trees that drop pollen or cotton-like material in early spring, this is the month to trim them back before they coat your condenser coil.
March: The Critical Pre-Summer Tune-Up
- Schedule your professional inspection: the single most important maintenance action you’ll take all year. This should happen before daytime highs consistently pass 85°F. A trained tech will check refrigerant charge, test the capacitor and contactor, measure motor amp draws, tighten electrical connections, inspect the evaporator coil, and confirm the condensate drain is flowing. The visit takes about an hour and typically runs $89 to $189 in Las Vegas, depending on what’s included.
- Replace the filter again. Even if it looks only lightly dirty, start the hot season with a fresh one.
- Inspect the refrigerant line insulation. Walk the visible line from the outdoor unit toward the house. The foam insulation should be flexible and fully intact. If it’s cracked, powdery, or missing in sections, look closely at the exposed copper beneath it: any oil staining or greenish discoloration suggests a slow refrigerant leak that needs professional attention.
- Test the thermostat. Turn the setpoint down 5 degrees below room temperature and confirm the outdoor unit engages within 30 seconds and blows cold air within a minute. If it short-cycles or the air never gets properly cold, note the symptoms: this information is valuable when a tech arrives.
April through June: The Dust Season
This is when 45-day filter schedules need to become 30-day schedules. Spring winds kick up fine particulate dust that coats every exposed surface, including the inside of your filter box. Check the filter every two weeks during windy stretches by holding it up to a light: if you can’t see light through the media, it’s time. Inspect the condenser coil by shining a flashlight down between the fins: if it looks like a dusty gray carpet rather than bright aluminum, flush it outward with a garden hose on a gentle spray setting after cutting power to the outdoor unit at the disconnect box. Do this before 8 a.m. or after 7 p.m. when the coil is cool to the touch.
August: Peak Load, Peak Strain
Your AC is running more hours per day in August than at any other time. That means more air moving through the filter, more condensate moving through the drain line, and more electrical draw through the contactor and capacitor. Check the filter weekly. Listen for any change in sound from the outdoor unit. Shine a light at the area around the contactor access panel: any buzzing or chattering sound from that panel when the unit starts is a capacitor or contactor warning sign, and both are inexpensive to replace early and costly to ignore. August is also when we see the highest number of blower motor failures from systems running restricted airflow on a dirty filter, so if your filter has been in longer than a month during this month, replace it even if it doesn’t look terrible yet.
September: Post-Monsoon Condenser Inspection
Monsoon season in Las Vegas runs roughly July through mid-September. Flash floods move silt, mud, and debris across the valley floor, and much of it ends up packed against the base of outdoor condenser units. This is the only time of year when a coil can be simultaneously muddy below and dusty above. Cut power to the unit, let the coil cool, and flush it thoroughly from the top down, then remove any silt buildup from around the base. Check that the unit is still sitting level: monsoon floodwater can erode the pad underneath and leave the unit tilted, which strains the compressor and oil circulation. A visibly tilted unit is worth a professional look before it becomes a mechanical failure. For homeowners in neighborhoods like Summerlin, Centennial Hills, and Green Valley where landscaping and elevation matter, this post-monsoon check is the difference between a compressor that lasts 12 years and one that dies at 8.
October: The Shoulder Season Reset
Daytime highs start dropping back into the 80s and the system finally gets a break. This is the cheapest month to catch up on anything you let slide during the summer. Flush the condenser coil again if it picked up monsoon debris. Replace the filter. Run the system for 10 minutes and confirm it cycles off normally when the thermostat setpoint is reached. If you have an older system that struggled through August, October is also the best month to get an honest assessment of remaining life, because you can schedule a replacement at your own pace instead of waiting for a mid-July failure.
November and December: Winterizing the AC
Your furnace takes over during these months, but the AC still needs attention. If you’re not using a heat pump, cover the top of the condenser with a breathable cover designed for the purpose, never a plastic tarp that traps moisture. Pull the disconnect or shut off the breaker to the outdoor unit if you have an anxious habit of switching the system to cool on a warm afternoon without checking the cover first. Check and replace the filter on whatever cadence your heating season requires, which for most Las Vegas homes is still every 45 to 60 days because the blower runs nearly as much in winter as it does in summer.
If your furnace is the piece giving you trouble during these colder months, our guide to Furnace Repair in Las Vegas covers the same kind of climate-specific maintenance thinking for the heating side of your system.
Filter Strategy: MERV Ratings, Dust Storms, and Why 90 Days Is Wrong Here
The single most repeated piece of AC advice in America is “change your filter every 90 days.” It’s also the single most expensive piece of bad advice a Las Vegas homeowner can follow. Here’s the math: your blower motor pulls air through the filter. A clean filter offers very little resistance. A dirty filter offers a lot. When resistance goes up, airflow goes down. When airflow goes down, the evaporator coil gets colder than it’s designed to get, the blower motor works harder, and eventually one of two things happens: the coil freezes into a solid block of ice, or the blower motor overheats and burns out. The coil will thaw and work again for a while. The blower motor is usually a $400 to $900 repair in Las Vegas.
The filter change interval that makes sense in this climate is 30 to 45 days during peak dust season, which here runs essentially March through October, and 45 to 60 days during the cooler months. Look at the filter every two weeks during windy stretches. The visual test is simple: hold the filter up to a ceiling light. If you can still see individual fibers and plenty of light passes through, it’s doing its job. If it looks like a solid gray slab, it’s past due and it’s been choking your system.
The MERV Rating Window for Las Vegas Homes
MERV stands for Minimum Efficiency Reporting Value, and it measures how many particles a filter captures. The scale runs from 1 to 16 for residential filters. National guides often tell you to buy the highest MERV rating you can find. That’s actively bad advice in this climate. Here’s why: a MERV 13 filter is dense enough to catch virus-sized particles, but it also resists airflow like a blanket. On a system that was sized for the relatively low static pressure of a MERV 8, a MERV 13 filter can cut airflow by 10 to 20 percent. In a mild climate, that’s an efficiency hit. In Las Vegas, during a 110°F heatwave, that’s an evaporator coil on the edge of freezing and a blower motor running hot. If your system wasn’t specifically designed and commissioned by a pro to handle a high-MERV filter, don’t use one.
The right filter for most Las Vegas homes is MERV 8 to MERV 11. This range catches the dust, pollen, and pet dander that actually circulate through a house in the valley, while still allowing the airflow volume your blower motor and evaporator coil need. A pleated MERV 8 or 11 filter changed every 30 to 45 days in dust season does far more for your system’s health and your indoor air quality than a MERV 13 changed every 90. If someone in your household has severe allergies or a respiratory condition, discuss higher-efficiency filtration with an HVAC professional who can measure your system’s static pressure and tell you whether it can handle the added resistance. There is a right way to get high-MERV filtration, but it often involves a thicker media cabinet or a dedicated filtration system, not stuffing a denser filter into a 1-inch slot.
Condenser Maintenance: The Outdoor Unit That Takes a Beating
Your outdoor condenser unit sits outside in direct sun, in blowing dust, behind shrubs, next to block walls, on a pad that radiates heat back up at it. In Las Vegas, that unit is routinely asked to reject heat into 100°F-plus outdoor air, which is like trying to cool a drink by setting it next to a fire. Every degree of extra work the condenser does shortens its life a little, and every obstacle to airflow makes it work hotter.
The most important maintenance task on the condenser is keeping the coil clean and the airflow unobstructed. The coil is that big finned surface on the sides and back of the unit. Over a Las Vegas spring, it collects a layer of fine dust, pollen, cottonwood fluff, and whatever else the wind blows into it. A dirty coil can reduce the system’s cooling capacity by 15 to 30 percent, which means longer run times, hotter compressor temperatures, and higher bills. The fix is simple: once every 60 days during the warm season, shut off the power at the disconnect box near the unit, remove any large debris by hand, and flush the coil with a garden hose set to a gentle spray. Always flush from the top down so the water carries debris out of the fins instead of deeper into them. Never use a pressure washer, which folds the fragile aluminum fins flat and makes the problem permanently worse.
The second task is clearance. Your condenser needs at least 24 inches of open space on every side and 5 to 6 feet above it. Shrubs, ornamental grasses, stored patio furniture, or lattice screens placed too close to the unit will recirculate the hot exhaust air right back into the coil, compounding the heat problem. We see this constantly in Las Vegas backyards where a homeowner plants a nice hedge around the unit for aesthetic reasons and doesn’t realize they’ve built an oven around it. If you must screen the unit, use a fence or screen that’s at least 3 feet away and at least 50 percent open air. Your condenser needs to breathe.
Refrigerant Line Insulation: The UV Damage Check Most Homeowners Never Do
There are two copper lines running from your outdoor unit into your house: a small liquid line and a larger suction line. The suction line, the bigger one, is wrapped in black or gray foam insulation for a reason. It carries cold refrigerant vapor back to the compressor. In a properly running system, that line is around 40°F while the air around it is often over 100°F here. The insulation prevents the cold from being lost to the outdoors on its way inside, and it prevents condensation from dripping off the line and causing water damage where it passes through walls.
Here’s what most checklists never mention: that foam insulation is not UV-resistant. In a climate with 300 days of sun and intense UV radiation, the insulation on exposed outdoor portions of the line will begin to degrade within a few years. It turns from flexible black foam to a brittle, gray, cracked shell. Once it splits, three things happen. The line loses cold and your system loses efficiency. Condensation forms on the exposed copper and puddles or drips in places water has no business being. And, most dangerously for your wallet, the exposed copper is vulnerable to physical damage from wind vibration, curious pets, or a flying branch that leads to a refrigerant leak.
Check the insulation twice a year, once in March and once in September. Look at the entire exposed run, including where it enters the house and especially anywhere it’s clipped to the wall or passes through a roof overhang. Squeeze the foam every foot or so: it should feel springy and return to shape. If it feels stiff, crumbly, or it’s visibly cracked, get it re-insulated. This is a $50 to $100 job for an HVAC tech, and it’s also something many homeowners can do themselves with split foam pipe insulation and UV-rated tape if they’re comfortable working around the lines, but be careful not to compress the copper when installing it. What you should not ignore is oil staining on the copper once insulation is removed: that’s refrigerant oil leaking out, which means a refrigerant leak, which means a professional repair before it becomes a compressor failure.
Refrigerant leaks are one of the most expensive repairs an AC unit can need, not because the leak itself is hard to fix, but because small leaks go undetected until the system is running short on refrigerant, running hot, and the compressor is taking damage. A low refrigerant system is often the root cause of a dead compressor, and a dead compressor usually means replacing the entire outdoor unit. Checking and maintaining that $50 foam insulation is one of the cheapest insurance policies you can buy in Las Vegas.
What You Can Do Yourself vs. What Voids Your Warranty
There’s a line between routine homeowner maintenance and work that has to be done by a licensed HVAC contractor, and crossing that line can cost you more than the service call would have. For help deciding which side of that line a task falls on, read DIY vs Professional HVAC: The Las Vegas Homeowner’s Decision Guide. Here’s the clear demarcation, based on manufacturer warranty terms and Nevada contractor licensing requirements.
What a homeowner can and should do:
- Replace or clean the air filter on the manufacturer’s recommended interval or more often if needed.
- Keep the area around the outdoor unit clear of debris, vegetation, and stored items.
- Flush the exterior of the condenser coil with low-pressure water when it’s visibly dirty.
- Clear minor debris from the condensate drain line access point with vinegar and warm water.
- Visually inspect accessible refrigerant line insulation, electrical conduit, and duct connections.
- Test the thermostat and listen for unusual noises during normal operation.
- Keep a written log of filter changes, cleanings, and unusual system behavior.
What requires a licensed professional, both by warranty and by law:
- Anything involving refrigerant: adding, removing, recovering, leak testing, or recharging. This is regulated by the EPA and requires Section 608 certification in most cases. Doing it yourself is illegal and dangerous, and it will void any remaining manufacturer warranty on the compressor and coil.
- Opening the electrical access panel and touching capacitors, contactors, wiring, or the control board. Capacitors store lethal voltage even with the power off. This is not a homeowner task, ever.
- Replacing major components: blower motors, compressors, coils, thermostats on central systems, or control boards. Most manufacturer warranties state that component replacement must be performed by a licensed HVAC contractor for the warranty to remain valid.
- Anything on the gas side of a furnace or heat pump. Gas lines, burners, heat exchangers, and flue piping are licensed-plumber territory, and a carbon monoxide risk is not something to learn on.
- Diagnosing and repairing a refrigerant leak, especially if the system is low on charge. This involves specialized leak detection equipment, recovery machines, and soldering or brazing skill.
The distinction matters because some warranty claims get denied over work the homeowner did themselves. If you want to protect your investment, document what you do, stay on the right side of that line, and call a licensed contractor for anything beyond it. Every repair from a company like AC Repair in Las Vegas should include a written guarantee on the work, so when you call a professional, ask what the guarantee covers and for how long before you approve the work.
Documenting Your Maintenance History: Why It Saves You Money
Most Las Vegas homeowners can’t tell you when they last changed their filter, what the technician said during the last tune-up, or whether the system has ever been low on refrigerant. That’s not a moral failing, but it is an expensive one. When a tech arrives at a no-cool call and has no service history, they have to start from zero: test everything, eliminate possibilities one at a time, and often recommend a diagnostic fishing expedition because there’s no record of what’s already been checked. That’s how a $200 repair turns into a $500 diagnostic plus a $200 repair.
A maintenance log changes that conversation completely. It gives the technician a head-start on the diagnosis, narrows the list of likely causes, and often means the difference between a 45-minute fix and a multi-hour investigation. And when you open the door to a AC Maintenance in Las Vegas tech who arrives with a Threshold Verified badge and a name you were given before they knocked, you can hand them your log and start the visit from a place of shared knowledge instead of mutual guesswork.
What to record in your log, in a simple notebook or notes app:
- The date every filter change happens, and what MERV rating you used.
- The date of every condenser coil flush and what the debris looked like.
- Any unusual sounds, smells, or behaviors the system exhibits, with the date and what was happening.
- The date and findings of every professional service visit, including refrigerant levels if they were checked.
- Any repairs or part replacements, with the part name, brand, and who performed the work.
- Note the system’s age, brand, and model numbers once, so you’re never scrambling to find them.
This log does two things beyond helping the next tech. It proves to a future buyer that the system was maintained, which at resale can be worth real money. And it protects you if a warranty claim is ever disputed: manufacturers often require proof of regular maintenance to honor a compressor or heat exchanger warranty, and a dated log is often accepted as that proof. Five minutes per maintenance event, twice a month, can save you thousands over the life of the system.
Common Mistakes to Avoid
- Using a MERV 13 filter “for better air quality” and starving the system. You’re reducing airflow by double digits, overheating the blower, and risking a frozen coil. Stay in the MERV 8 to 11 window unless a pro confirms your system can handle higher resistance.
- Flushing the condenser with a pressure washer. A pressure washer folds the aluminum fins flat and ruins the coil for life. Use a garden hose, gentle spray, power off, top to bottom.
- Waiting for “the annual tune-up” and ignoring the filter for 11 months. The filter is a maintenance task every 30 to 45 days in Las Vegas, not an annual event. A spring tune-up with a clogged filter in June is like getting a dental cleaning and never brushing.
- Planting shrubs around the condenser for curb appeal. You’ve built an oven around the unit. Leave 2 feet of clear space on every side, and more if possible.
- Ignoring a buzzing or chattering sound from the outdoor unit because it “still works.” That’s the sound of a contactor or capacitor on its way out. $80 to $180 to replace early, $600 to $1,200 to replace the compressor it takes down later.
- Running a refrigerant leak until the system won’t cool. Every week the system runs low on refrigerant is a week the compressor runs hot. A small leak found early is a $200 repair. A dead compressor is a $1,500 to $3,500 replacement.
- Throwing away the maintenance log because it “seems like a lot of effort.” The log is the single most valuable piece of documentation you own when the system breaks, when you sell the house, or when you file a warranty claim. It’s five minutes of effort that prevents hours of misdiagnosis.
When to Call a Professional
Some AC problems announce themselves as a checklist item. Others announce themselves as a breakdown. Know the difference. Call a professional if the system is blowing warm air, if it short-cycles (starts and stops every few minutes), if the breaker trips more than once, if you smell anything burning or electrical, if you see ice on the copper lines or the indoor coil, if you find oil at any refrigerant line joint, or if the outdoor unit makes any sound you’ve never heard before. Any of those symptoms on a Las Vegas summer day is a failure in progress, not a maintenance item. A minor issue caught early is always cheaper than a major failure caught on a 112°F afternoon. Brandt HVAC Co Las Vegas offers free estimates in Las Vegas, call (725) 502-1353 for a straightforward diagnosis and a written price before any work starts.
Frequently Asked Questions
Every 30 to 45 days during the March through October dust season, and every 45 to 60 days during the cooler months. Check it every two weeks during windy stretches. If you can’t see light through the filter media, it’s overdue. Call (725) 502-1353 if you want help finding the right filter size or MERV rating for your specific system.
MERV 8 to MERV 11 is the right window for most systems in this climate. It catches valley dust, pollen, and pet dander while still allowing enough airflow to keep the blower motor and evaporator coil healthy. Higher MERV ratings can starve a system that wasn’t designed for them. If you need better filtration, a thicker media cabinet or a dedicated air cleaner is the right solution, not a denser 1-inch filter.
You can and should flush the exterior of the condenser coil with a garden hose every 60 days during the warm season, clear the area around the unit, and change the filter. You should not open the electrical panel, add refrigerant, or touch any component inside the unit. Those tasks require a licensed professional, both for safety and to keep your manufacturer warranty valid.
A basic annual inspection and tune-up in the Las Vegas valley typically runs $89 to $189, depending on what’s included and whether the company adds refrigerant testing, duct inspection, or other services. The most valuable part of a good tune-up is the written report you get afterward: what was checked, what the readings were, and what needs attention before it becomes a failure. Ask for that report when you book. Call (725) 502-1353 for a current price and a no-pressure explanation of what’s included.
The most common failure we see is a burned-out blower motor caused by a filter that ran too long and choked off airflow. The filter gets dirty, airflow drops, the motor works harder and hotter, and it fails, usually in July or August when the system is running constantly. The repair is typically $400 to $900. The prevention is a $10 filter changed on time.
March, before the heat arrives. The system has been mostly dormant, the weather is comfortable, and the technician has time to catch and fix small problems before the punishing summer workload begins. If you miss March, any time before Memorial Day is still better than waiting until the first 100°F day. A March tune-up is also cheaper and easier to schedule than a June emergency call. Call (725) 502-1353 to get on the March schedule before it fills up.
The Bottom Line
A maintenance checklist that works in Las Vegas works on a Las Vegas rhythm, not a national one. If you need help with any of these tasks, our AC Repair services are available year-round. Change your filter every 30 to 45 days during dust season using a MERV 8 to 11 rating. Flush the condenser coil every 60 days from March through October. Check the refrigerant line insulation for UV damage in March and September. Keep 24 inches of clearance around the outdoor unit. Keep a written log of every maintenance action so the next technician who walks through your door, verified and introduced by name, can start with the full picture instead of a blank page. Follow this calendar and you’ll catch small problems before they become big ones, extend the life of your system by years, and avoid spending your August in a 90-degree house waiting on a repair that could have been prevented in March.
Written by Devin Marlowe, Owner at Brandt HVAC Co Las Vegas, serving Las Vegas since 2003. For more guides & resources, visit our blog.
See the difference
 Before
 After
After Before
 After
After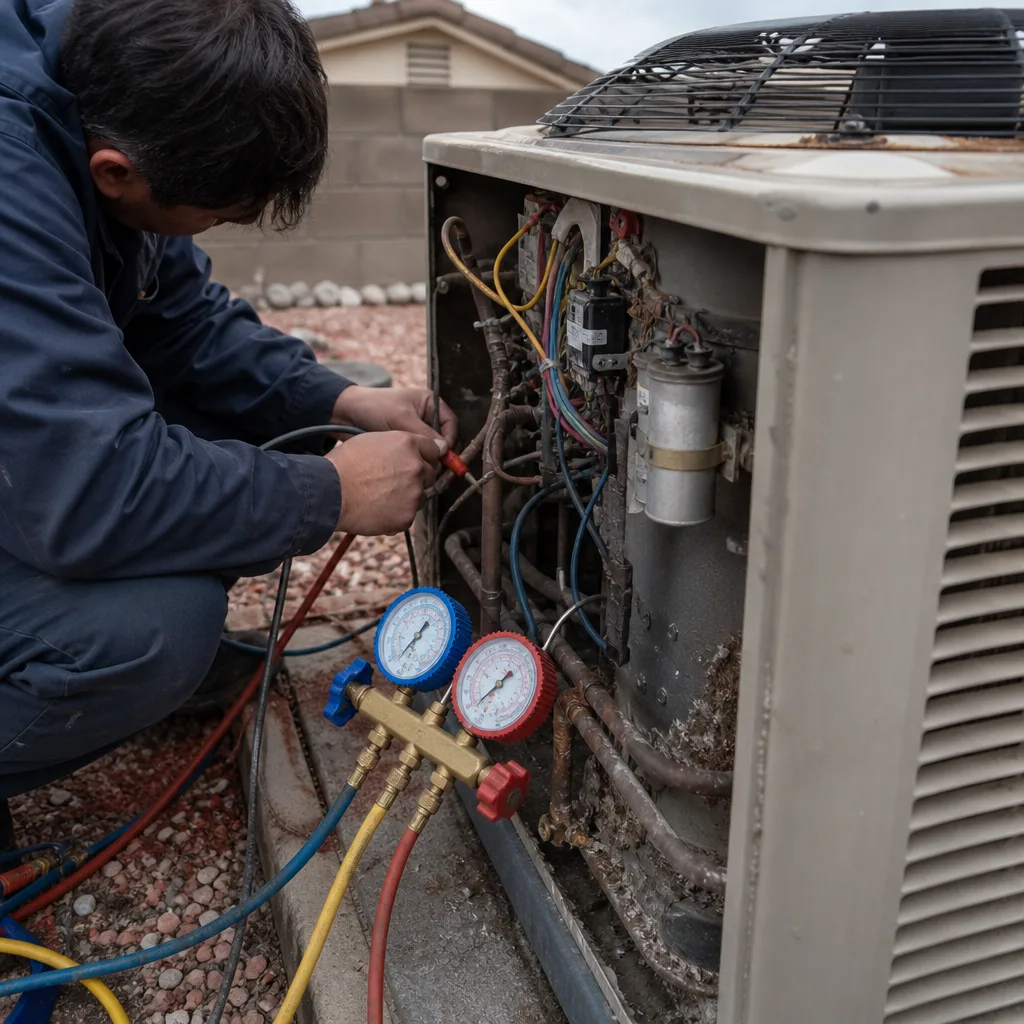 Before
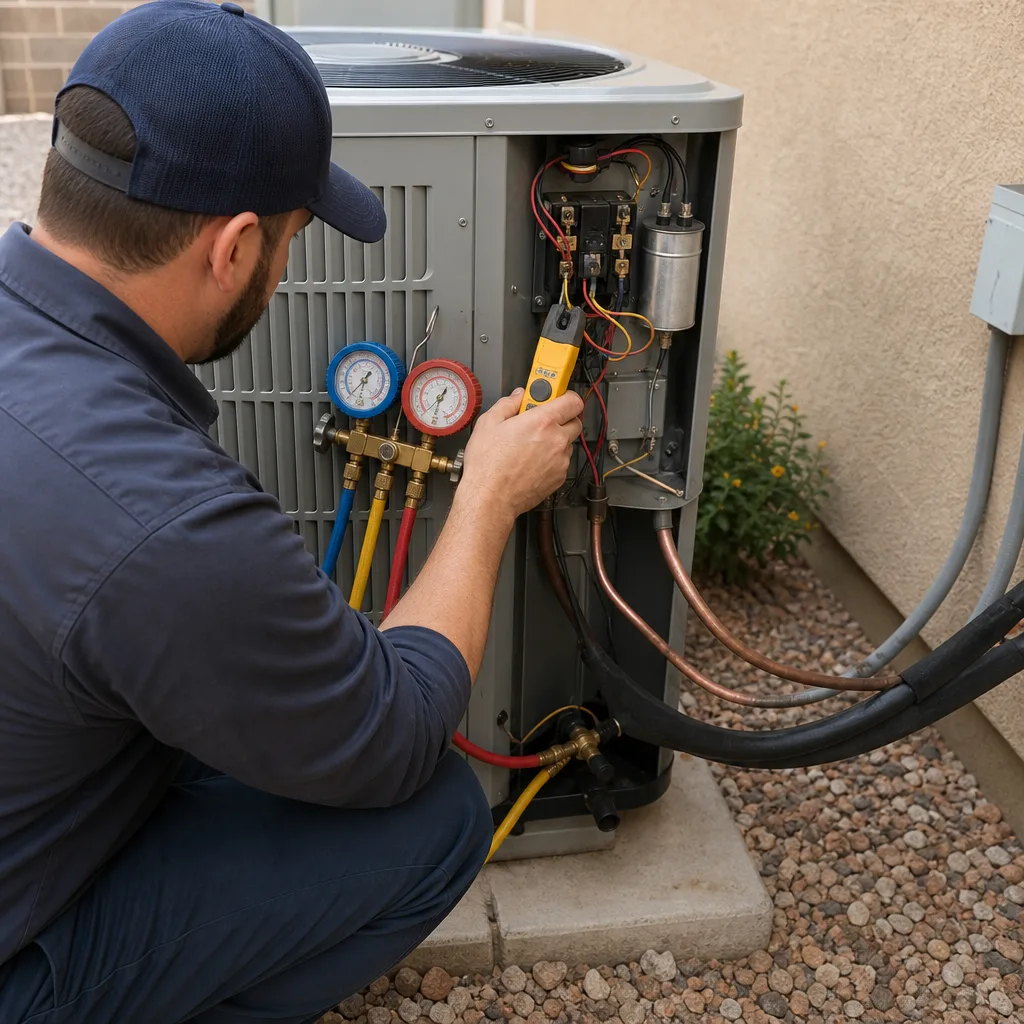 After
After